Friday, September 29, 2023

Dehydrated Pears: A Sweet Snack


Dehydrated fruits are a delicious snack you can make at home.  Pears from your organic orchard  are nutritious and easily enjoyed throughout the season when dehydrated.  There are three principles to consider when dehydrating.
  1.  Heat:  The temperature needs to be controlled and  high enough to force moisture out of the fruit.
  2. Dry Air:  Needed to absorb the moisture released from the food
  3. Air Circulation:  to move the moisture away
When food is properly dehydrated 80-95% if the moisture will be removed from the food.


Methods of dehydrating:


Sun Drying or Room Drying:  This method requires warm days of around 90 degrees, low humidity, a means to control insects, and clean air.


Oven drying:  Because of energy costs, this is only a good options for small batches


Commercial  Dehydrators:   The dehydrators provide the most consistent and reliable results.  The fruit dries evenly, quickly, and the quality is excellent with this method.


Always Start Fresh


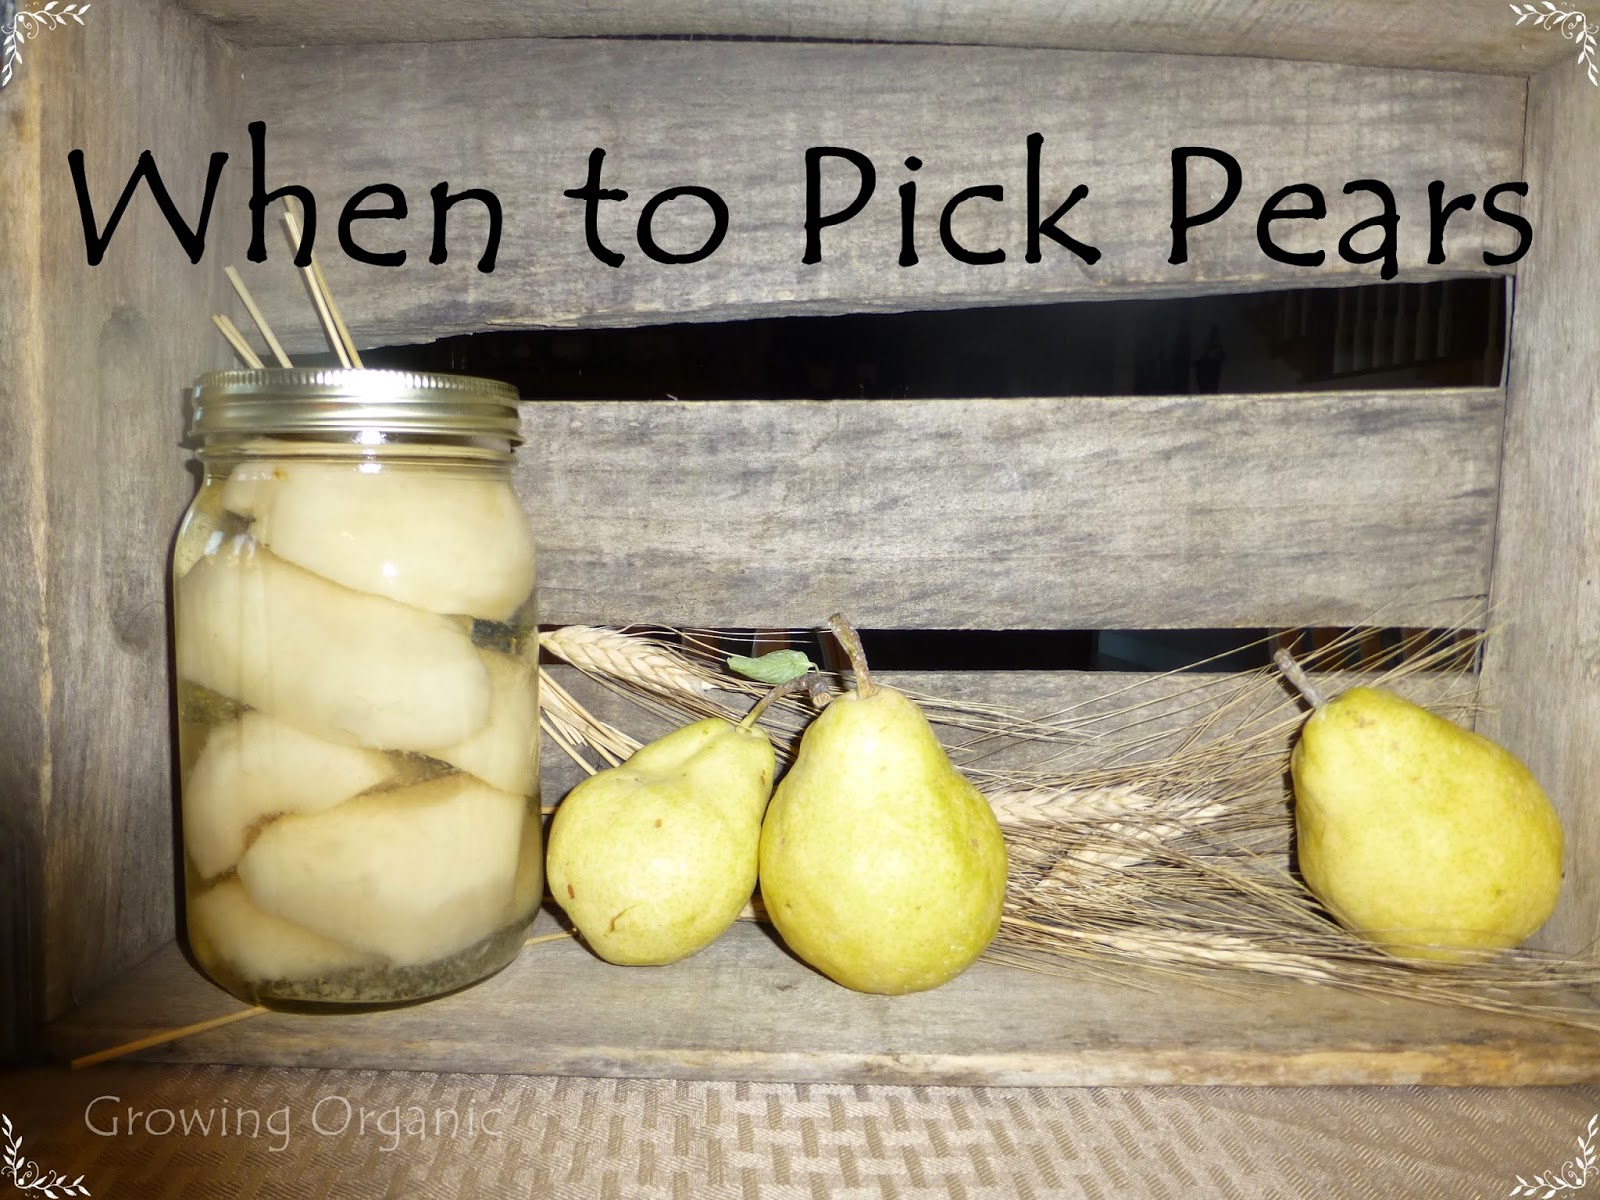
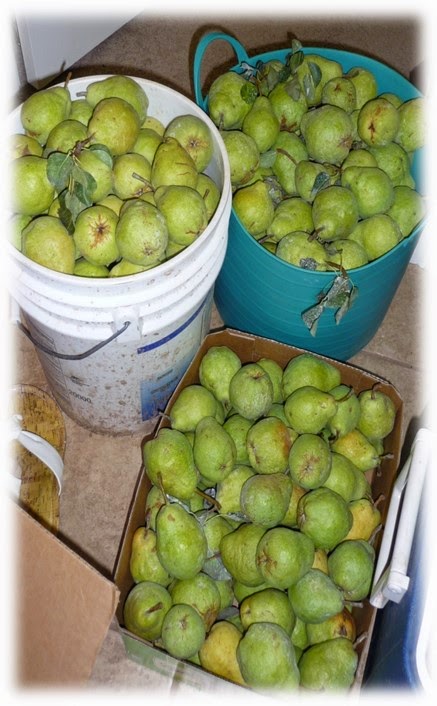
You want to use fresh, high quality fruit.  That is the benefit of having a home orchard.  Pears are relatively easy fruit to grow. They are very productive and tend to bloom late enough to miss early frosts.  I have one Bartlet pear and a Packman pear.  The Bartlet's are my favorite.  One tree gives our family plenty of pears for eating, canning, and drying. 


Pretreating the Fruit


Dipping pears in a pretreatment prevents them from oxidizing.  The fruit will brown, lose some Vitamin A and Vitamin C during oxidization.  Lemon juice makes an excellent natural pretreatment.


Use 1 cup of lemon juice to one quart of water

It is best to not leave the fruit in the dip for more than 10 minutes.


Preparing the Pears


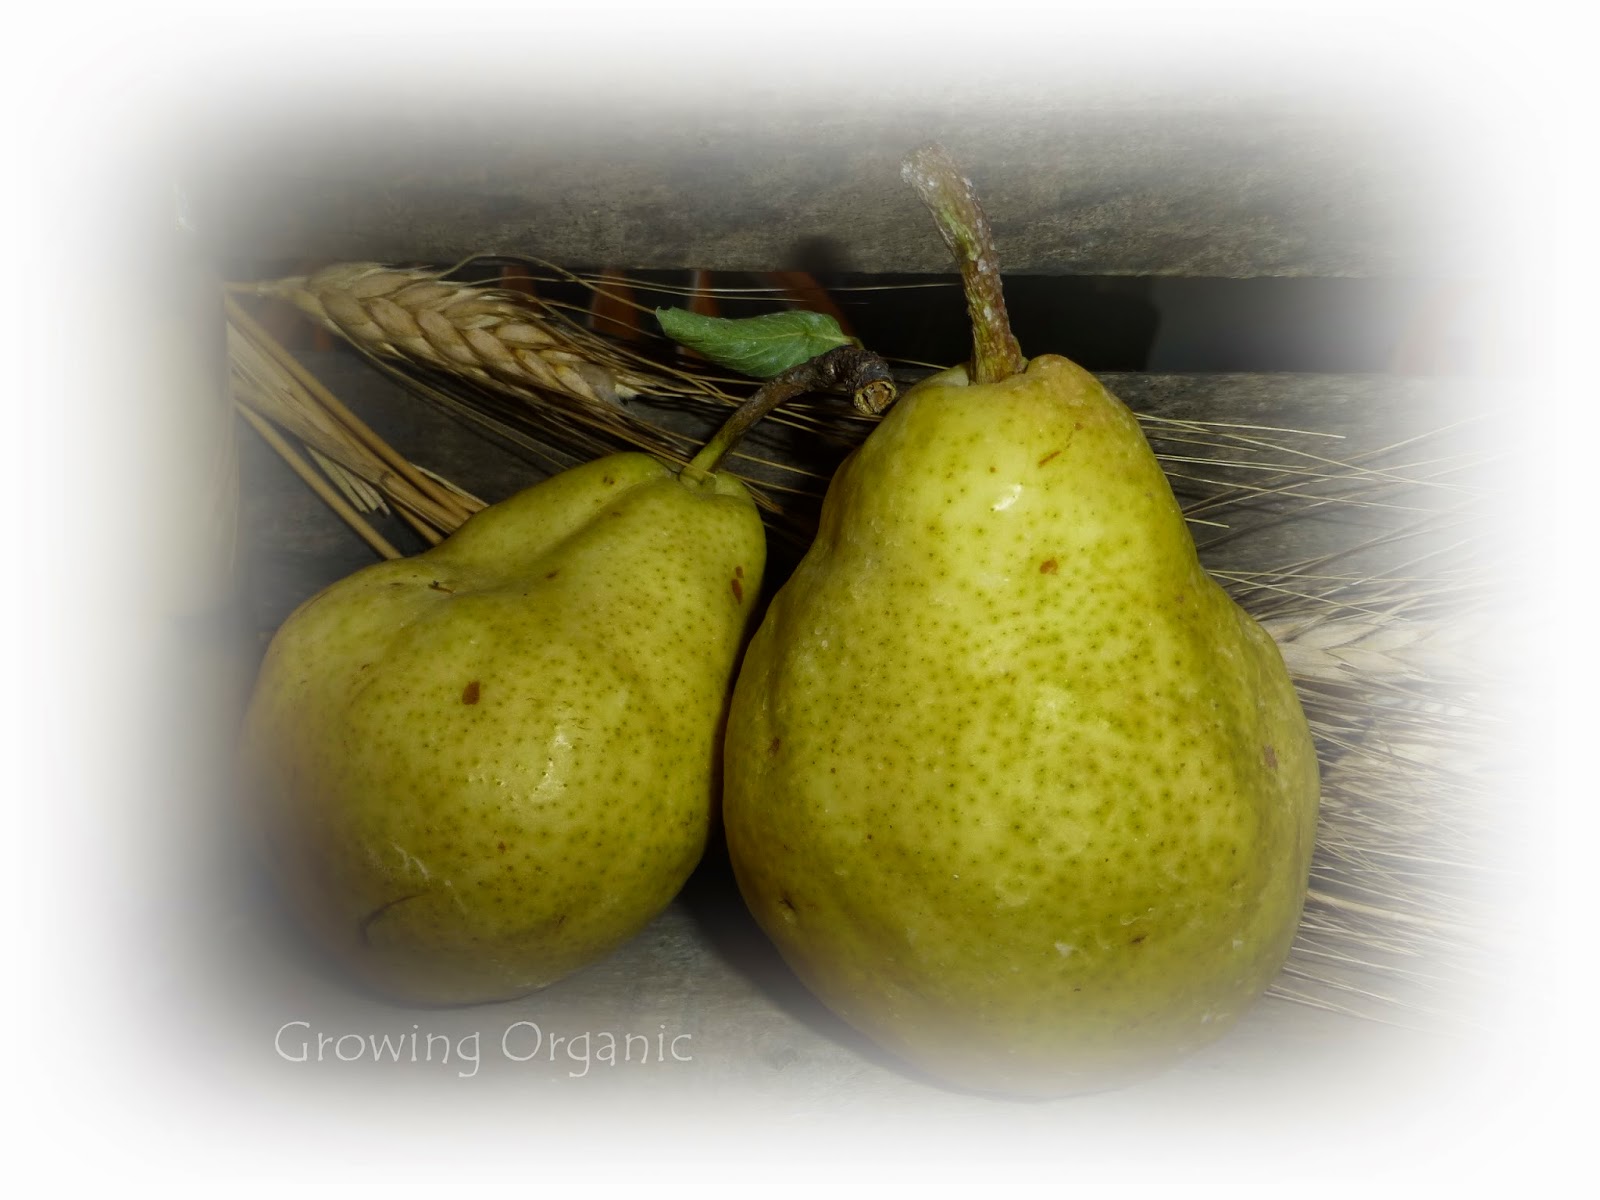
Any variety of pears can be used.  Wash the pears.  I like to slice the pears into quarters, then core and peel each quarter. Cut into 1/2 slices You can use a apple corer and slicer.  I think it leaves the pieces too small and prefer to do it by hand.  Place the sliced pears in the pretreatment.  Every 10 minutes remove the pears from the pretreatment and place on trays. Individual fruit pieces should not be touching each other so air can circulate.


Dry pears at 130 to 135 degrees until leathery. 

Because it is difficult to slice evenly, be sure to check for doneness frequently and remove any fruit that is done.


Storage


Store the dried pears in an airtight container and away from light.  You can put an oxygen absorber packet in for longer storage.  I like to use gallon size mason jars.


Vaccum pack some  for longer storage life.  In some cases it can extend the shelf life 3-5 times longer.

Stored in an airtight container in a cool, dark place these delicious snacks will store for 1 year.  Don't count on them lasting that long!


Wednesday, September 27, 2023

Storing Pumpkins & Winter Squash


Winter Squash & Pumpkins


Winter squash which includes pumpkins are an excellent storage crop.  They will keep 2-3 months with very little preparations.  Start by picking and storing mature squash before a frost  

The squash is mature if the skin cannot be pierced by you fingernail or the skin resists being scratched by your fingernails.  Cut the stems 2-4 inches long.  Pumpkins and squash do not store well without stems.  The except to this is the hubbard type squash which should be stored without the stem.


Curing squash

During the curing process, moisture is lost and the skins harden. All squash undergo a natural curing process when stored. Artificial curing is not necessary for mature squash stored in good conditions. 

Nearly mature squash, except acorn squash, do benefit from curing.  Holding squash and pumpkins at a favorable temperature encourages healing of cuts and scratches and forms a corky layer over cuts and the cut end of the stem.

Cure pumpkin and squash at temperatures of 80-85 degrees F at 80-85% humidity.  A small heated cabinet or a corner of the garage with a thermostatically controlled heater and a fan to circulate heat works well.


Acorn squash
 should not be cured and likes lower temperatures than other squash. They prefer temperatures of 45-55 degrees anything over that and they become stringy and dry.  A green skinned acorn squash should stay green.  There are orange and white skinned varieties.  The white skinned do not store as well and should be eaten first.  


Storing Squash

Squash do not like temperatures below 50 degrees. Ideal temperature for storage is 50-55 degrees F.  They can be stored in a side room, basement, or a pantry that is not too warm.

Pumpkin are treated just like squash but do not store as long.  When storing both squash and pumpkins do not pile them but leave space between and do not store them on a concrete floor.


Keep the pumpkins and squash dry to discourage mold and fungus. Air circulation will help with this.

Do not store near apples or pears which emit ethylene gas which causes yellowing of squash.

Discard any squash that shows signs of decay.

Hard-shelled winter squash storage times

Table Queen (acorn type)                             1-2 months

Butternut                                                            2-3 months

Hubbard types                                              3-6 months

Banana                                                          3-6 months                                                     

Buttercup (turban type)                                 3-6 months

Sweet Meat                                                    4-6 months

Pumpkin

Jack O’Lantern type                                      2-3 months

Pie Pumpkins                                                2-3 months


Occasionally a hard frost means you have many very immature winter squash and pumpkins.  Once they are picked thy will not continue to ripen but can be used for decorating for Halloween and the fall season.


Sunday, September 24, 2023

When to Pick Pears


“There are only ten minutes in the life of a pear when it is perfect to eat.” – Ralph Waldo Emerson


 A ripe pear is a sweet, juicy treat, but it is often difficult for the grower to determine when the time is right to harvest your pears.  Unlike other fruit, pears do not ripen on the tree.   If left on the tree too long or picked too early, they either remain rock hard or turn gritty and mushy.  Pears ripen from the inside out so by the time the outside is ripe the inside is mushy and mealy.  


Types of Pears


 European pears include fall and winter pears.  Fall pears do not need a storage period before they are ready to use, and winter pears will not mature properly unless they are given a resting period in cold storage immediately after picking. The fall pears are earlier ripening varieties such as Bartlett, Clapp Favorite, and Orcas, while those that ripen later, such as Bosc, Comice, and Highland, are winter pears.


When To Pick a Pear


The key to picking pears is doing so when they are mature but not fully ripe. Look up the maturity date for your pear variety and begin checking your tree regularly before this date. The pear will be green and feel very firm when it is mature.  Tip the pear to the horizontal position and if mature it will easily break away.  If it clings it is not mature.  You should not have to tug and pull your pears off.


It is helpful to write on a calendar when you picked your pears and begin check for maturity one or two weeks prior to that.


Allowing Pears To Ripen


After picking, fall pears can be kept at room temperature until ready to eat.  They are ready to eat when yellow color develops and the fruit begins to soften. Fall pears can be stored but usually do not keep for very long. Storing in a refrigerator or cool dark place is helpful in extending storage life.  Fall pears are best used for canning and drying. 


Winter pears should be put into some kind of cold storage (below 40°F, down to 33°F) for  least 3-4 weeks. You can start to bring out fruit as needed to soften up at room temperature on the counter. 


Wednesday, September 20, 2023

Stawberry Watermelon Lemonade


Watermelon, Strawberry Lemonade


Ingredients:
8 cups cubed seedless watermelon
1 cup strawberries, halved or raspberries
½ cup fresh lemon juice
1 cup sugar or agave (I start with 1/4 to 1/2 cups of sugar; 1/4 would give a tarter drink)
2 cups water
Combine all the ingredients in a blender or mixer and blend until smooth. 

Optional add a few mint leaves

This is also delicious frozen and eaten as a slush or you could add vanilla yogurt for a thicker smoothie.


Want to learn to grow your own melons?  
Check out this post

Growing Watermelons


Saturday, September 16, 2023

Apple Butter Recipes


Apples, pears, and pumpkins are fall favorites.  All three of these can be made into a delicious butter.  A butter is an old fashioned fine-textured spread.  It is made from pureed fruit pulp that is cooked with sugar and spices to a smooth, thick, spreadable consistency. It is best not to puree in a blender.

Apple butter is a classic.  It pairs well with grilled cheese,  grilled ham and turkey, its delicious on a breakfast ham or on any muffin or bread.


The following recipe makes about 5 half pints but that amount will vary depending on how long you simmer it and how juicy the fruit is.

Apple Butter

4 lbs tart apples

2 cups apple juice

2 cups sugar

1 1/4 tsp cinnamon

1/4 tsp nutmeg (optional I personal leave this out because I don't like nutmeg)

  • Rinse apples in cool water. Quarter apples and put in a stainless steel stock pot with the apple juice.  Over medium heat, bring the mixture to boil.  Reduce the heat and simmer until the apples are soft.  Remove the pan from heat.
  • Press the apples and juice through a food mill. Food mills remove seeds, skin, and stems and separates the pulp. 
  • Return the apple pulp to the pan.  Stir in sugar, cinnamon and nutmeg.
  • Over medium low heat, heat the mixture stirring constantly until the sugar is completely dissolved.  
  • Increase the heat and bring mixture to a simmer, stirring frequently.
  • Simmer til thick about 30-40 minutes.
  • As the butter thickens, stir to prevent scorching
  • Ladle the hot butter into hot jars, leaving 1/4 inch headspace.
  • Wipe the jar rims and threads with a clean damp cloth.
  • Cover with hot lids and screw rings.
  • Process half- pint jars in a water bath for 10 mins.  Add 10 minutes for high altitudes above 5000.  Process pint jars for 15 minutes add 10 minutes for high altitude.
  • Turn off heat, remove lid of canner leaving jars in the canner 10 minutes to pressurize before removing.  Leave on the counter undisturbed to cool.  You will hear the lids pop as they seal.


Carmel Apple Butter

Apple Pulp:

3 1/2 lbs tart apples

2 cups apple juice

1 cup water

1/4 cup lemon juice

Butter Ingredients:

4 cups apple pulp

3 cups firmly packed brown sugar

2 1/3 granulated sugar

1/2 tsp butter

1 (3oz) pack liquid pectin

To Make the Apple Pulp:

In a stock pot combine all pulp ingredients.  Over medium heat bring the mixture to boil.  Reduce heat cover and simmer until apples are soft.  Press through a food mill. Return pulp to a clean stock pot. Bring the mixture to boil.  Reduce heat and simmer until mixture thickens.  

To make the butter:

Measure out 4 cups of the pulp combine with brown sugar, granulated sugar, and butter.

Heat the mixture stirring constantly until the sugar is completely dissolved.  Bring to a full rolling boil.  Stir in the entire contents of the pectin pouch.  Return to a full rolling boil, stirring constantly, for 1 minute.  Remove from heat.

Ladle the butter into hot jars, leaving 1/4 inch headspace.  Wipe the jar rims and threads.  Cover with hot lids and screw bands.  Process half-pints in a water bath canner for 10 minutes adding an additional 10 minute for altitudes above 5000.  Process pint jars for 15 minutes adding 10 additional minutes for high altitude.


Thursday, September 14, 2023

Blackberry, Strawberry, Raspberry & Spicy Applesauce!


Add some variety to your applesauce.  You can mix  berries, peaches, or apricots into your applesauce for added variety.  You'll definitely have a hard time keeping these on the pantry shelves.  I've included my favorite applesauce recipe which is good with nothing but apples, and then I've included recipes for some berry sauce and a family favorite, Spicy Applesauce.  I did a batch of strawberry, raspberry, and blackberry applesauce because those are the berries I grow and had ready to harvest or else in the freezer.  Gala Apples make a delicious sauce because they are already so sweet.  The Gala apples are from our orchard and are organically grown.  


Basic Applesauce Recipe  (Makes 3 quarts)

7 lbs of apples
2 cups of apple juice
1/2 to 1 cup of sugar
2 Tbs lemon juice


Berry Applesauce

1 Quart of berries  (strawberries, raspberries, blackberries, boysenberries, or blueberries)

You can add as much as you like.  Just start with a quart and do the taste test.  If you add the berries, then use 1  full cup of sugar.  If I'm making plain applesauce or Spicy Applesauce I use 1/2 a cup or less of sugar depending on how sweet your apples are.  Or you can eliminate the sugar altogether. 

Spicy Applesauce

7 lbs of apples
2 cups of apple juice
1/2 cup brown sugar
1 teaspoon of cinnamon
2 Tbs lemon juice


No worms in my organically grown Gala apples!  Love Spinosad!

Slice and weigh the apples.  7 pounds can be steamed in a large sauce pot at a time.


Sliced and weighed apples are added to apple juice and sugar mixture.  Boil and simmer until apples soften.


Add the sugar to the apple juice and heat till dissolved in a large sauce pot.  Slice your apples and weigh them.  You will add 7 lbs to the juice and sugar mixture.  Bring to a boil and let apples simmer until soft.  Press the apples through a sauce maker.  The sauce maker separates the pulp from the seeds and core.  There is no need to core the apples.  Make sure that you cut out any bad spots in the apples.


Softened apples ready to press through the sauce maker.


Add your berries to the softened apples 
and press them through the sauce maker.


Apples being pressed through the sauce maker


Use a large measuring cup to catch the sauce.


If you are adding berries throw them in with the softened apples before you run them through the sauce maker.  I keep a large pot to put the sauce in.  Add 2 Tbs of lemon juice.  I do two batches at a time to fill 6 quart jars.

Pour sauce into a clean large saucepan.  Add the lemon juice.  When you have enough for 6 quarts then heat till 
bubbling then fill jars.

Strawberry Applesauce


After you have enough for 6 quarts reheat the applesauce until it starts to bubble. Add the cinnamon and brown sugar at this time if you are making Spicy Applesauce.   Pour into sterile jars leaving 1/2 inch headspace.  Remove air bubbles.  Wipe rims.  Adjust 2 piece lids and place in a water bath canner.  Process for 20 minutes adding another 10 minutes for altitudes above 1000 feet.

Spicy Applesauce

Blackberry Applesauce

I try to store all my jars in the boxes the jars came in.   I know they look beautiful on a pantry shelf but the box gives a little protection in case you are ever hit by an earthquake. 


Be sure to remove the rings and wipe the jars before storing in case any sauce seeped out during processing.  If you do have a problem with that you are probably filling the jars a little too full or not allowing them to pressurize before removing from the canner.  After processing time turn off the heat, remove the lid and allow the jars to remain in the canning for 10 minutes before remove from the canner.


Monday, September 11, 2023

Vegetable Soup: Beautiful Medley of Veggies


As the gardening season winds up and your canning jars fill up, here's a recipe that uses up lots of your random harvests.  I love this because sometimes you get green beans at the end of the season but not enough to can a whole batch of beans so what better way to use up veggies than in a delicious vegetable soup.

This is a wonderfully flavored soup that can be spiced up either before canning or when you prepare it.  In the winter when you open a can you can add left over chicken or turkey, potatoes, peppers, jalapeños, or a pasta.  

All these vegetables are low acid so this recipe MUST be pressure canned.  I highly recommend you read and follow the instructions on your pressure canner if you are not familiar with pressure canning.


3 cups chicken broth

3 cups chopped plum tomatoes (like Roma)

2 cups peel potatoes or parsnips (I don't like canned potatoes so I leave this out.  I prefer to add fresh potatoes when I prepare the soup)

2 cups sliced peeled carrots

1 1/2 cup corn (fresh whole kernel corn cut off the cob)

2 cups celery chopped

1 cup 1" long sliced green beans

3/4 cup coarsely chopped onions

2 TBS minced fresh Italian parsley

1 tsp minced fresh thyme leaves

1 large garlic clove minced

1/2 tsp pepper

1/2 tsp salt

Amounts of veggies do not need to be exact so use what you have available and add more or less of what you like.  Have extra chicken broth heated in case you need more liquid when filling the jars.  The processing time is sufficient for the vegetables listed.

Optional:  You can add coarsely chopped red, yellow or green bell peppers or a couple finely chopped jalapeño chile peppers for more spice.  

Combine all the ingredients in a large stock pot.  This makes about 6 pints or 3 quart jars.  You can easily double the recipe.  Bring ingredients to a boil, reduce the heat and let it simmer for about 5 minutes.


Ladle the hot soup into hot jar, leaving a 1 inch head space.  Don't over pack when filling jars vegetables expand when cooked. Remove any trapped air bubbles and add more broth if necessary.  Wipe the jar rims and threads with a damp cloth.  Apply hot lids.

Processing:

 Pint jars for 60 minutes

Quart jars for 75 minutes

11 pounds of pressure in a dial gauge pressure canner or

10 pounds pressure in a weighted-gauge pressure canner.


Saturday, September 9, 2023

Chocolate Zucchini Bread


Wondering what to do with all that zucchini?  If you think you are tired of traditional zucchini bread, here's a delicious chocolate zucchini bread recipe you will love!


Chocolate Zucchini Bread

Combine dry ingredients:

2 cups flour

2 cups sugar

1 tsp salt

2 tsp baking soda

1/4 tsp baking powder

3/4 cup cocoa 

Mix together wet ingredients:

3 eggs

1/2 cup of oil or for low fat 1 1/2 cup applesauce

3 cups shredded zucchini, if frozen thaw and drain before adding

Add your favorite chocolate chips and nuts if desired

Mix wet with dry ingredients and add to loaf pans.  Preheat oven to 350 and bake for 45 minutes to 1 hour. Test for doneness.

Variation use 3 tsp cinnamon and 2 tsp vanilla extract in place of cocoa.


Tuesday, September 5, 2023

Freezing & Preserving White Peaches


White peaches are amazing eaten fresh but what do you do to preserve the abundance of peaches you harvest?  Canning is not an option. The pH of white peaches is 4.6 making it a low acid food which means that canning in a water bath canner is not safe.  There are also no safe pressure canning recipes for white peaches either. (Pennsylvania State University Extension)

White peaches have a pure white or slightly blushed flesh and are sweeter than yellow peaches.  They are so amazing eaten fresh, used in salads, fruit salads, and grilled.

White peaches are not recommended for baking.  The don't hold their shape and the flavor when baked is not as intense as yellow peaches.

So..... the best way to preserve this intense sweetness is to freeze, dehydrate, or freeze dry white peaches.  Dehydrated and freeze dried white peaches are an amazing snack. Store in mason jars with oxygen absorbers and vacuum seal the jar. 

Vacuum Sealer for Canning Jars 

Freezer Containers


Frozen white peaches can be used in:

  • Shakes
  • Smoothies
  • Homemade ice cream
  • Thawed they can be mixed in yogurt or oatmeal
  • Blended and combined with vanilla yogurt to make popsicles

White Peach Pudding Smoothie

  • 1 pint frozen peaches
  • 2½ cups cold milk or unsweetened almond beverage
  • 1 pkg. (4-serving size) instant vanilla pudding

Freezing Methods for Peaches:

Select fully ripe fruit. Wash, peel, pit, and slice peaches.  Use on of the following methods:

Sugar Pack:  Combine 2/3 cup sugar and 2 teaspoons of Fruit-Fresh set aside.  Measure 1 quart of sliced fruit, sprinkle with sugar mixture. Gently toss to coat and allow to stand for 10 minutes.  This allows the sugar to dissolve.  Pack sliced fruit and syrup into plastic freezer jars or containers leaving 1/2 inch head space.  You can also vacuum seal peaches. Seal, label  and freeze.

Puree:  Combine 2 cups sliced fruit, 2 Tbsp sugar, and 1 1/2 teaspoon of Fruit Fresh.  Put mixture in a food processor and puree.  Pack puree into plastic freezer jars or plastic freezer containers.  Leave 1/2 inch head space.  Place a piece of freezer wrap over the top of puree to prevent discoloration.  Seal, label, and freeze.

These methods can be used with yellow peaches, nectarines, or apricots also.


Saturday, September 2, 2023

Zucchini Muffins


Warning!  These are delicious!  Such a delicious way to use that zucchini that just keeps on coming.

Zucchini Muffins

Mix together dry ingredients with a whisk:

1 1/2 c flour
1 c sugar
1 tsp. cinnamon
1/2 tsp. baking powder
1/2 tsp. baking soda
1/2 tsp. salt

Mix wet ingredients togethers and add to dry.  Gently fold in zucchini.

2 eggs
1/2 c oil
1 tsp vanilla
2 c grated zucchini

Optional:  Mix it up by adding chopped pecans or mini chocolate chips or both.

This makes 12 muffins

Bake at 350 for 30 minutes


Friday, September 1, 2023

Lemon Poppy Seed Zucchini Bread


A delicious way to use up that slightly overgrown zucchini.  Lemon and poppy seed is such an irresistible combination.

Lemon Poppy Seed Zucchini Bread


Combine in a large bowl:
4 cups flour
1 1/2 cups sugar
1 small package lemon pudding mix
1 1/2 tsp baking soda
1 tsp baking powder
1 tsp salt

Whisk together in another bowl:
4 eggs
1 1/4 cups milk
1 cup Canola oil
3 Tbs lemon juice
1 tsp lemon extract

Add the dry ingredients to the milk and oil mixture.  Only stir until moistened.  Gently mix in:
2 cups shredded zucchini
1/4 cup of poppy seeds
2 tsp grated lemon peel

Bake at 350 degrees for 50-55 minutes in any size loaf pan.