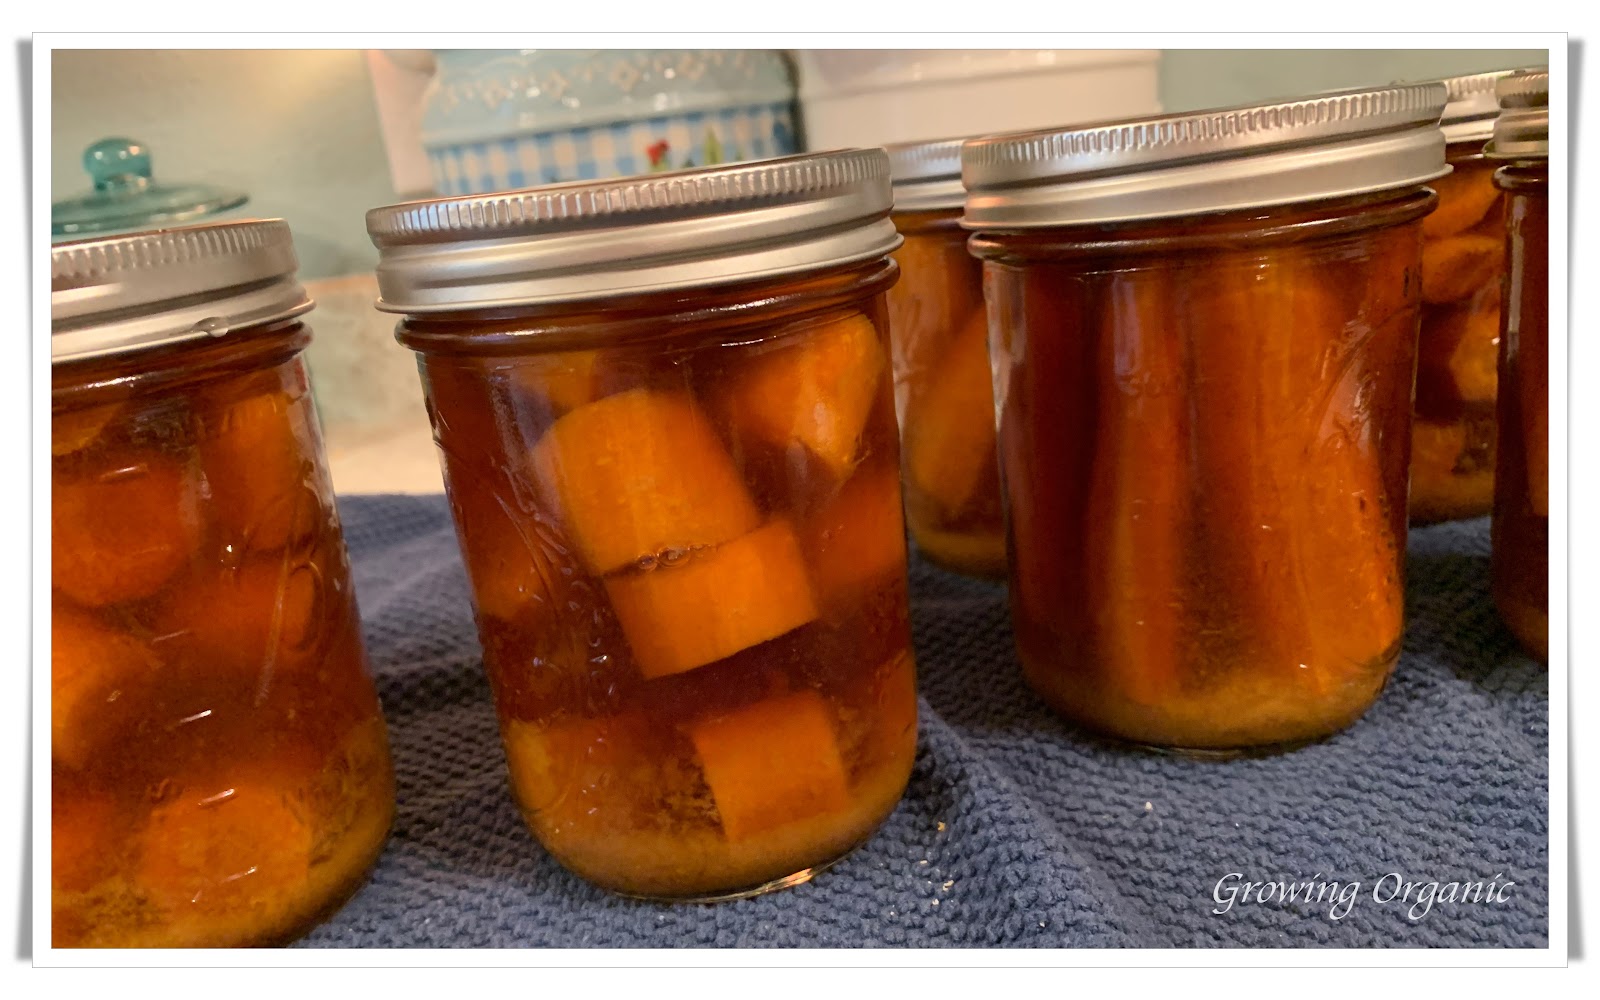
Canning can be motivated by the necessity of preserving your harvests or the simple desire to create something healthy and delicious for your family. With home canning, you know and can pronounce every ingredient that goes into the product. Canning carrots is very economical. Whole carrots can be purchased inexpensively at most stores or you can use homegrown carrots. Either option makes for a delicious side dish. You have a healthy, ready to eat vegetable dish.
This recipe comes from The All New Ball Book of Canning and Preserving. The recipes in this book are fantastic. I highly recommend add the book to your preserving collection. It includes Ball's classics with new modern, recipes that you can trust.
In this recipe the carrots are raw packed and pressure canned. You must process at least 2 quart jars or 4 pint jars in the pressure canner to ensure the proper temperature is reached and the product is safe.
1. Wash, peel, wash again then either cut into slices, dice or leave whole.
2. Heat to a simmer chicken or vegetable broth. This will be your liquid.
3. Place carrots in clean jars. You will be leaving a 1" headspace.
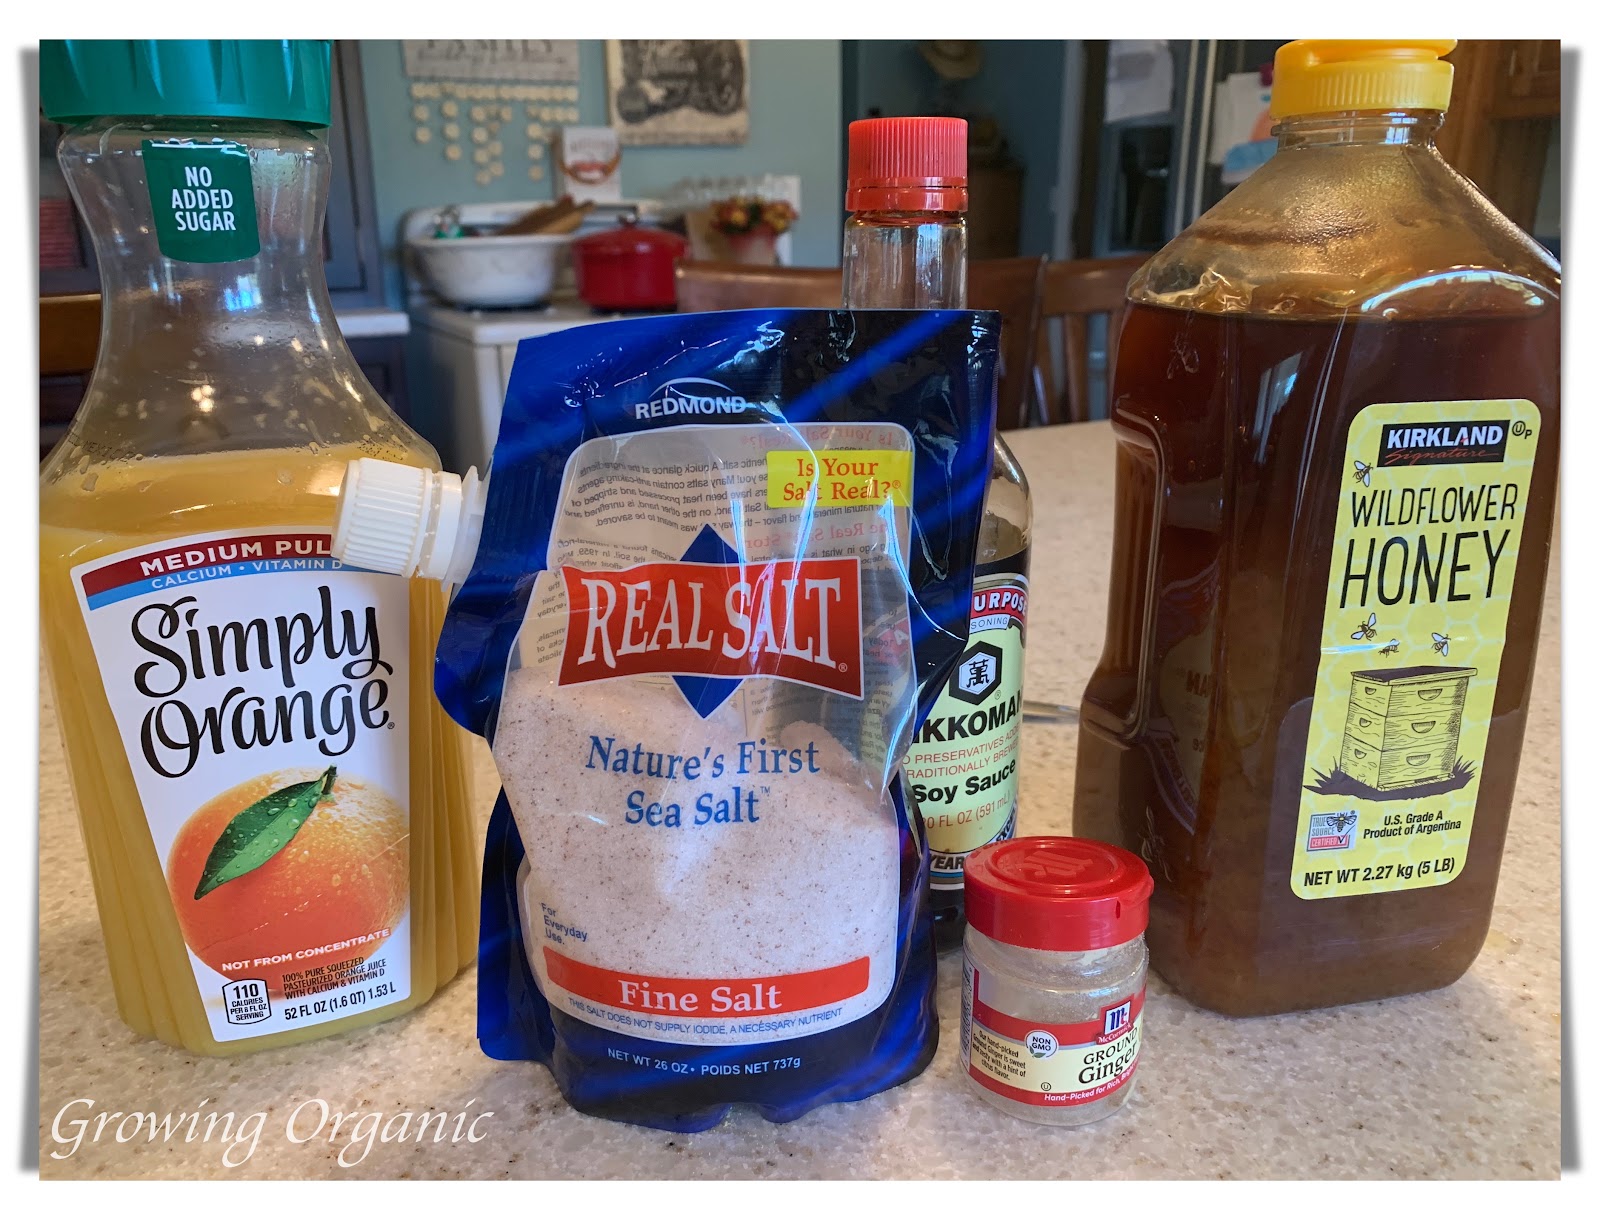
To each pint jar add: To each quart jar add:
1/2 tsp salt 1 tsp salt
1/4 tsp ground ginger 1/2 tsp ginger
1/8 cup of orange juice 1/4 cup of orange juice
1 Tbs soy sauce 2 Tbsp soy sauce
1 Tbs honey 2 Tbsp honey
Remember you have to can at least 2 qt jars or 4 pint jars to achieve a safe temperature. Pints and quarts have different processing times so I would not mix them.
4. Ladle hot broth over ingredients. Remove air bubbles. Add more broth if needed leaving a 1" headspace.
5. Apply lids and ban to finger tip tight.
6. Place jar in canner with proper amount of water added to the canner and continue until all jars are filled.
7. Lock pressure canner lid in place. Adjust heat to medium high.
8. Allow to vent for 10 minutes. This removes air from the canner allowing it to fill with steam.
9. Place the weight on the canner. Use the 10 psi for weighted gauge canner or bring a dial gauge canner up to 11ps. Follow all instruction for your canner. Be familiar with your canner.
10. I have a weighted canner so I begin timing when the weight starts to jiggle. Reduce the heat so it only slightly jiggles. Avoid fluctuating temperatures which will cause siphoning of the liquid in the jars.
Quarts 30 minutes Pints 25 minutes
11. Turn of heat after processing time is complete and allow to cool naturally. This takes a while. Removing the lid too soon will also cause siphoning.
12. When you do remove the lid allow product to sit in canner 10 minutes then remove and set on a towel to continue cooling undisturbed for 24 hours.
13. After cooling time, check for a seal. The lids should NOT flex up and down when pressed. Remove the bands. The lids should be conceived. Wipe down the jars and store in a cool dark place.
To serve:
Transfer contents of jar to a pan and simmer for 10 minutes. Enjoy!


No comments:
Post a Comment